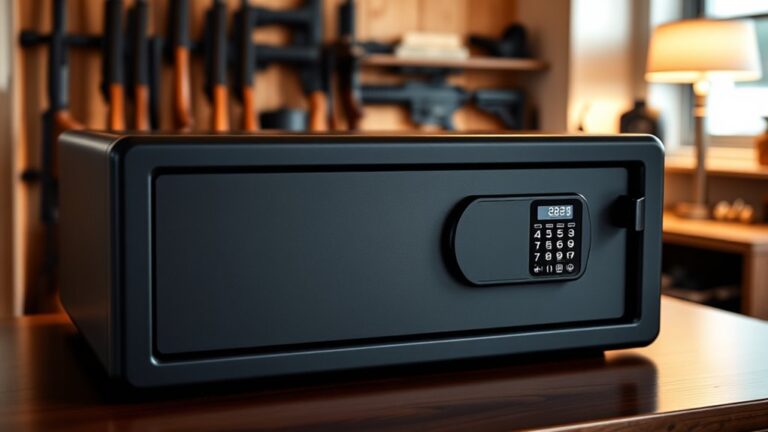
5 Steps to Safely Remove Your Gun Safe Door
Many people struggle with safely removing a gun safe door, especially if they’re not sure where to start or worried about damaging the safe.
You’re not alone—this can feel overwhelming, but with the right steps, you can do it safely and confidently.
To safely remove your gun safe door, start by preparing the area—clear clutter, wear safety gear, and gather the right tools.
Next, identify the hinges and remove them carefully, asking for help if needed due to the door’s weight.
Secure or disconnect the locking mechanism, whether electronic or mechanical.
Then, lift the door slowly and place it on a flat surface.
For detailed steps, keep going to get the full picture and guarantee a safe, smooth process.
Key Takeaways
- Disconnect the power and empty the safe to stay safe during door removal.
- Check what type of hinges your safe has, then use the right tools to carefully detach them.
- Make sure to unlock or secure the locking mechanism before you start removing the door.
- Lift the door steadily, preferably with some help, to avoid any damage or injury.
- Once off, place the door on a stable surface and check the parts for maintenance or reinstallation.
Prepare Your Safe for Door Removal
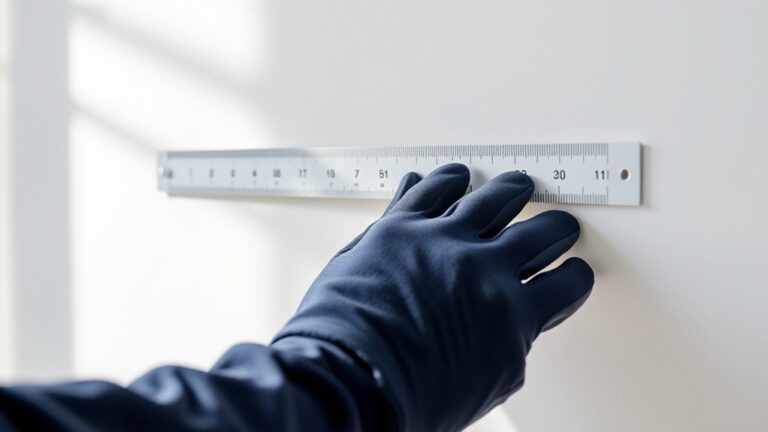
Before you start removing the safe door, it’s important to prepare the safe itself. First, make sure you’re in a safe, well-lit area free of clutter. Safety is key to avoid accidents or injuries, so wear gloves and eye protection if needed.
Clear the space around the safe to give yourself plenty of room to work comfortably. Gather all the tools you’ll need, like screwdrivers, a socket wrench, and a pry bar, to make the job easier.
Clear the area and gather essential tools like screwdrivers, a wrench, and a pry bar for a smoother safe door removal.
Double-check that the safe is unplugged or disconnected from any power source if it’s connected. Empty the contents of the safe to prevent damage or spills during removal. It’s also a good idea to take photos of the interior and exterior for reference later.
Proper preparation sets the stage for a safe and smooth removal process. These steps help you avoid mishaps and ensure you’re ready when it’s time to remove the door.
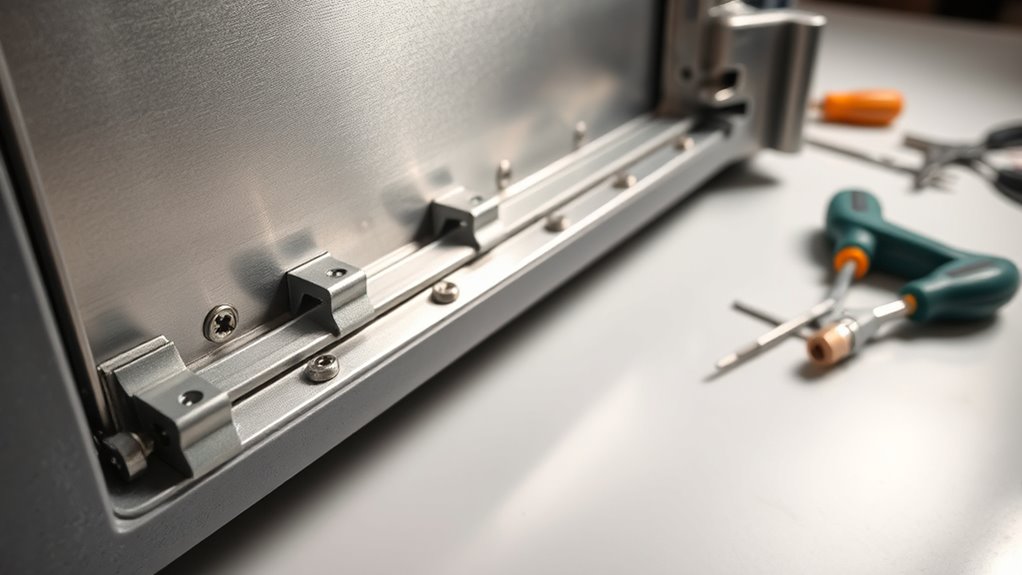
Identify and Remove the Safe Door Hinges
Locate the hinges on the safe door by inspecting the sides where it connects to the frame. Different hinge types, like butt hinges or continuous hinges, may need different removal techniques. If your door is heavy, have help ready to manage its weight safely.
Look for the hardware attaching the door to the frame, usually with screws or pins, to identify the hinges. There are various types, each requiring a specific approach to remove.
| Hinge Type | Removal Tip |
|---|---|
| Butt hinges | Unscrew or pry off the hinges from the door and frame. |
| Continuous hinges | Remove the screws along the entire length. |
| Pivot hinges | Detach the pins or screws at the pivot points. |
| Strap hinges | Unscrew the mounting plates on both sides. |
| Concealed hinges | Carefully access and unscrew hidden components. |
Knowing the hinge types and handling the door’s weight will help you remove it safely and effectively.
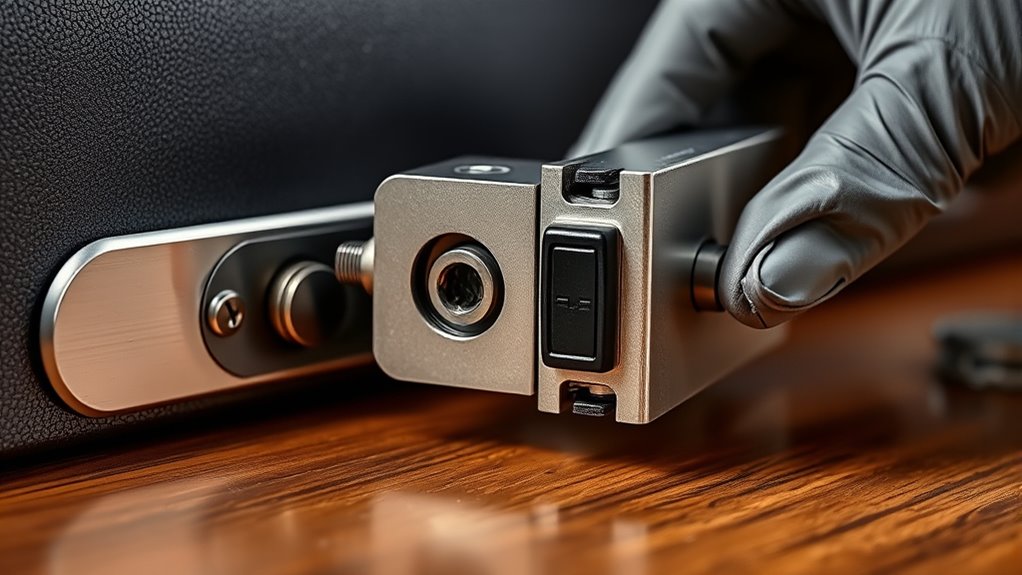
Disconnect or Secure the Locking Mechanism
To safely remove the safe door, you need to disconnect or secure the locking mechanism first. Locking mechanisms come in various types, like electronic locks, mechanical dial locks, or key locks, so your approach will depend on your specific system.
For electronic locks, disconnect the power source or remove the batteries to prevent accidental locking. Mechanical dial locks may require you to release and then carefully disengage the internal components.
If your safe uses a key lock, make sure you have the right key and turn it to open. Once open, secure the mechanism with tape or a block to prevent it from relocking accidentally.
Always follow safety precautions, like wearing gloves and eye protection. Handle parts gently to avoid damage. Confirm that the lock is fully disengaged before proceeding to remove the door.
Properly securing or disconnecting the locking mechanism guarantees safety and makes the removal process smoother.
Lift and Remove the Safe Door Carefully
Gently grasp the safe door with both hands, making sure you have a firm, balanced grip before lifting. The door can be quite heavy, so take your time and lift slowly to avoid sudden shifts or drops.
Grasp the safe door firmly with both hands and lift slowly to ensure safety and control.
Keep good posture to prevent strain and stay in control throughout the process. Always follow safety precautions—wear gloves if needed to prevent slipping and clear the area of obstacles.
If the door feels too heavy, don’t hesitate to ask for help so you can share the weight evenly. Avoid jerking or twisting the door, as this could damage the hinges or compromise safety.
Move deliberately and focus on lifting straight upward. Once the door clears its hinges, carefully place it on a flat, stable surface.
Taking your time and respecting the door’s weight will help you avoid injuries and make the removal process safer.
Reinstall or Maintain Your Safe After Door Removal
Once you’ve removed the safe door, take a good look at the hinges, locking mechanism, and surrounding parts for any signs of wear or damage. Proper maintenance helps keep your safe secure and working correctly. If you find rust, loose screws, or misaligned pieces, fix these issues before putting the door back on.
When reinstalling, make sure all hinges are lined up properly and the lock works smoothly. Regular checks can save you money on repairs and keep your safe in top shape. Use the table below to guide you through the post-removal steps:
| Step | Action | Purpose |
|---|---|---|
| Inspect Components | Check hinges, lock, and frame | Spot damage or wear |
| Clean and Lubricate | Remove debris, apply lubricant | Keep everything moving smoothly |
| Repair or Replace | Fix damaged parts or hinges | Maintain security and function |
| Reinstall Door | Follow proper installation procedures | Ensure a secure, proper fit |
Following these steps will help keep your safe reliable and secure.
Frequently Asked Questions
What Tools Are Essential for Safe Door Removal?
You’ll need a screwdriver or power drill to loosen hinges and remove screws, which is essential for door maintenance and safe security.
A wrench or socket set might be necessary to handle bolts or nuts securing the door.
Wearing gloves and safety glasses guarantees safety during removal.
Having these tools ready helps you safely detach the safe door without damaging the lock mechanism or compromising your security.
How Do I Prevent Damage to the Safe During Removal?
To prevent damage during safe door removal, focus on safe handling and maintaining proper door alignment. Carefully support the door to avoid sudden drops or strains.
Use your tools precisely to prevent scratches or dents. Keep the hinges aligned as you remove them, and work slowly to avoid bending or warping the safe’s frame.
Being gentle and deliberate guarantees your safe stays in good condition throughout the process.
Is Professional Help Recommended for Heavy or Complex Safes?
Yes, professional help is highly recommended for heavy or complex safes. Safety precautions are essential to prevent injury and damage, and expert advice guarantees the safe removal process.
If your safe is particularly heavy or intricate, hiring professionals minimizes risks, assures proper handling, and preserves the safe’s integrity. Don’t try to do complex removals alone.
Professionals have the right tools and experience needed to do the job safely and efficiently. It’s always better to rely on experts for these kinds of tasks.
Can I Remove the Door Without Voiding the Safe’s Warranty?
You can often remove the safe door without voiding the warranty, but it really depends on the warranty terms and maintenance guidelines from the manufacturer.
It’s a good idea to check your instructions first because some warranties require professional service for door removal.
If you follow the proper procedures and avoid damaging the safe, you usually won’t void the warranty.
When in doubt, always contact the manufacturer to make sure you don’t accidentally lose your coverage.
How Often Should I Check the Hinges and Locks After Reinstallation?
You should check your hinges and locks every three to six months to ensure everything works smoothly and give you peace of mind.
Regular hinge maintenance helps keep your safe functioning like new, while routine lock inspections protect your valuables.
Staying attentive to these details can prevent unexpected problems, so your safe is ready when you need it most.
Consistent care also helps maintain your confidence and prolongs the life of your investment.
Conclusion
Removing your gun safe door might seem intimidating, but with careful steps, it’s manageable. Think of it like opening a sturdy book—deliberate and gentle—rather than tearing out a page. While the door offers security, sometimes you need to remove it to access or service your safe.
Accept the process as a balance between safety and accessibility. After all, the goal is peace of mind, not frustration. Making your safe both secure and user-friendly is what matters most.