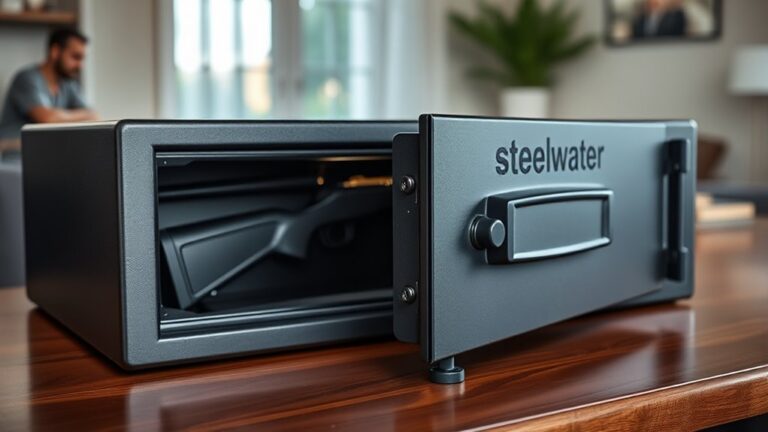
How to Switch Ammo Types in Ready or Not
Many players find managing their ammo types in Ready or Not to be a bit tricky, especially in the heat of combat. You’re not alone—getting the right ammo at the right moment can make all the difference.
Luckily, switching ammo types is straightforward once you know how.
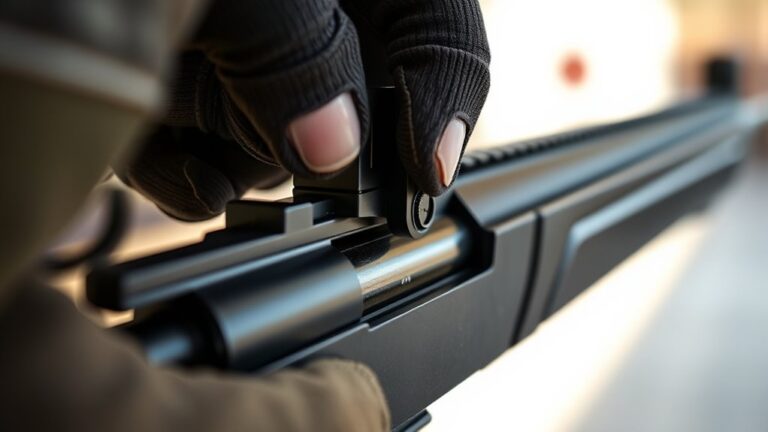
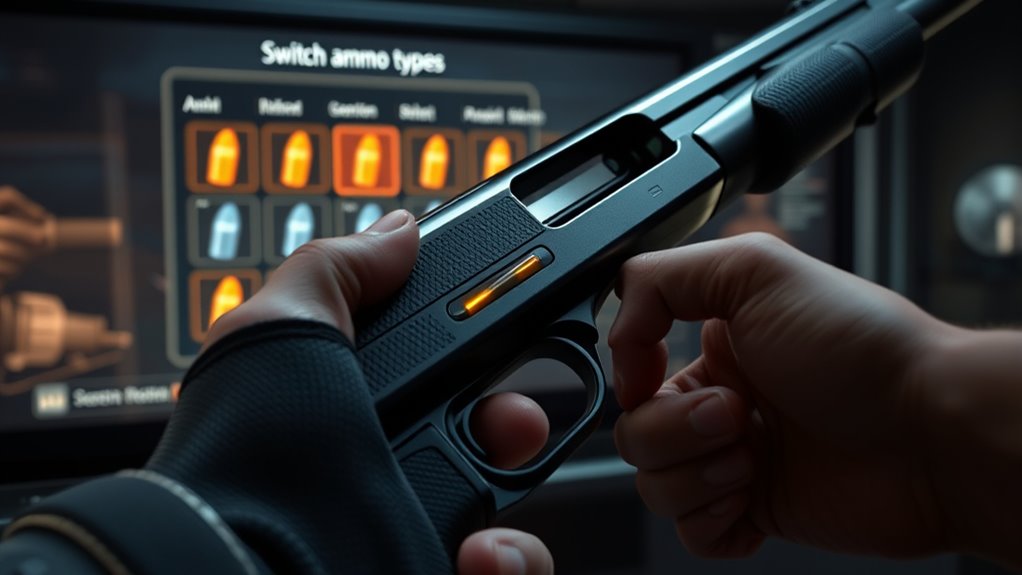
To switch ammo types in Ready or Not, you need to access the loadout menu before or during a mission. Select your weapon, then choose the ammo type that best fits your tactical situation, like armor-piercing or hollow points.
Make sure you’re familiar with quick switch buttons for seamless changes.
Properly managing your ammo can turn the tide of combat, and if you keep going, you’ll uncover even more tips to improve your gameplay.
Key Takeaways
- Access the weapon customization menu before the mission to assign different ammo types to your firearms.
- Use quick switch buttons or hotkeys for seamless ammo changes during combat.
- Familiarize yourself with game mechanics for ammo switching to ensure smooth transitions.
- Switch ammo when facing enemies with armor that current rounds cannot penetrate.
- Adjust loadouts on the fly based on enemy types and tactical needs for optimal performance.
How to Access Ammo Types in Ready or Not
To access different ammo types in Ready or Not, you need to open the weapon customization menu before starting a mission. This step is essential for effective ammo management and helps you tailor your loadout for specific tactical needs.
Adjusting your ammunition selection allows you to refine your gear based on your mission strategy, whether it’s breaching, suppressing, or precision shooting. Get familiar with the game mechanics that let you switch ammo types seamlessly to stay prepared.
Knowing how to switch ammo types quickly ensures you maximize your combat efficiency during critical moments. Proper loadout setup not only improves your performance but also helps with team coordination, as everyone can choose the right ammo for their role.
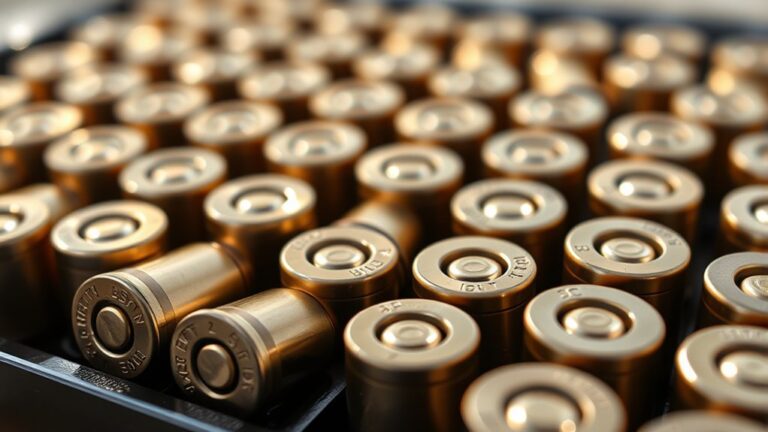
Understanding the Different Ammo Types in Ready or Not
For example, armor-piercing rounds are great against heavily armored foes but may have higher recoil and less stopping power against unarmored targets. Hollow points deliver maximum stopping power and are perfect for close-quarters situations where precision matters.
FMJ rounds offer reliable penetration and accuracy, making them suitable for general use. Knowing these differences helps you decide which ammo to load based on your mission and environment.
FMJ rounds provide dependable penetration and accuracy for versatile, all-purpose use.
Choosing the right ammo can mean the difference between neutralizing a threat efficiently or wasting valuable time and resources. Always consider the tactical implications of each ammo type to boost your effectiveness and adapt quickly to changing combat scenarios.
When Should You Switch Ammo During a Mission?
You’ll want to switch ammo when you come across enemies with armor that your current rounds just can’t get through easily. It’s a good idea to stay alert and keep track of your ammo, especially if you’re running low and supplies are tight during the mission.
And don’t forget, if you’re pressed for time and can’t afford to stop and look for better gear later, it’s smart to switch to a more effective ammo type right away. That way, you’re better prepared for whatever comes next.
Enemy Armor Types
Different armor needs different tactics. Light armor can usually be pierced with standard rounds, but heavy armor calls for specialized ammo to do the job effectively.
Figuring out the armor type early gives you a tactical edge. It lets you adapt your firepower on the fly and ensures your shots are more effective.
Switching to the right ammo type means fewer shots needed to neutralize enemies. Recognizing armored threats and adjusting your ammo saves time and resources.
It also keeps your team safer by reducing exposure and unnecessary risk. Watch enemy behavior and visual cues closely, and switch ammo quickly to stay ahead in the fight.
Ammo Availability Concerns
Deciding when to switch ammo during a mission often depends on your remaining supplies and how urgent the situation is. Ammo scarcity can force you to focus on managing resources and planning tactically so you don’t run out at critical moments.
Keep an eye on your inventory and be aware of supply routes that can restock your ammo. Knowing which ammo types are best for different threats helps you conserve them and stay prepared.
Switching ammo too early might deplete your reserves faster than needed, while waiting too long could limit your options. Think about your current engagement, the chance of extended combat, and how your ammo distribution affects the whole team.
Making smart decisions about when to switch ammo keeps you better equipped and increases your chances of completing the mission successfully.
Mission Time Constraints
Timing your ammo switches during a mission depends on how the clock is ticking. When urgency is high, stick with your primary ammo type to maximize firepower without interruptions.
If you face prolonged engagement or specific threats, switching to specialized ammo can give you more tactical options. For example, using armor-piercing rounds on heavily armored targets saves time and effort.
If your current ammo is running low and there’s enough time, switching early can prevent delays at critical moments. Keep an eye on your ammo count and mission progress.
Knowing when to switch ensures you maintain the right firepower, adapt to threats, and complete your objectives efficiently.
How to Change Ammo Quickly During Combat
Want to switch ammo quickly during a fight? It’s all about setting things up beforehand. Make sure you’ve assigned specific ammo types to your weapons so you can swap without any fuss. Getting familiar with those quick switch buttons is key — practice using them so you can move smoothly between different ammo types when it counts.
Managing your loadouts efficiently really makes a difference. Take some time to set everything up ahead of time, so you’re not scrambling during the heat of battle. The more comfortable you are with quick switching, the more versatile you’ll be, letting you adapt faster to whatever the fight throws at you.
Assign Ammo Types
Quickly switching ammo types in Ready or Not can give you a tactical edge in combat. To do this smoothly, assign specific ammo types to your weapons beforehand to support your strategies.
Use the loadout menu to customize each firearm, matching ammo types to different threats—armor-piercing for heavily armored enemies or hollow points for soft targets. This prep helps you optimize your tactical loadout, making it easier to adapt during firefights.
When assigning ammo types, think about the mission and the enemy types you’ll face. Properly configured weapons let you switch ammo quickly without fumbling through menus, keeping your combat flow intact.
Clear assignment of ammo types streamlines your response, so you’re always ready with the right rounds when it counts most.
Use Quick Switch Buttons
Switching ammo types mid-firefight is easy when you use the quick switch buttons. Your game’s layout is built for fast, seamless shifts, helping you adapt instantly to different combat situations.
To do this, just press the assigned button—usually a dedicated key or shortcut—while firing or switching weapons. This saves you time and keeps you focused on the fight without fumbling through menus.
Familiarize yourself with the button layout beforehand so you can switch ammo smoothly under pressure. Practice using the quick switch in training or less intense scenarios to build muscle memory.
With this method, you can change your ammo type quickly, giving you the upper hand during tense moments.
Manage Ammo Loadouts
Managing your ammo loadouts efficiently helps you adapt quickly during combat, so you’re never caught off guard. Good ammo management includes enhancing your loadout and thinking tactically, which lets you switch quickly based on the situation.
Getting familiar with your equipment improves your awareness and team coordination. This is key to staying flexible and ready for any surprises during a mission.
Adjusting your loadout on the fly keeps you prepared for unpredictable threats that may come up. It’s all about being ready for whatever the enemy throws your way.
| Ammo Type | Ideal Usage Scenario | Quick Switch Method |
|---|---|---|
| Hollow Point | Close quarters, civilians | Hotkey or quick menu |
| FMJ | Suppressive fire, long-range | Loadout preset |
| Armor-Piercing | Heavy armor, vehicles | Quick swap button |
| Shotgun Shells | Breaching, tight spaces | Accessible pouch |
| Incendiary | Distractions, area denial | Quick reload |
Top Tips for Ammo Switching in High-Pressure Situations
When faced with high-pressure situations, knowing how to switch ammo types efficiently can be the difference between staying alive and getting overwhelmed. Tactical awareness helps you spot when a different ammo type is needed, so stay alert to your environment and enemy threats.
Effective equipment management means keeping your magazines organized and within reach, so you can reload quickly without losing focus. Situational adaptability requires you to stay flexible and switch ammo fast when circumstances change, like facing armored targets or engaging at long range.
Keep magazines organized and accessible to reload swiftly and adapt to changing threats with confidence.
Clear communication with your team is essential. Let them know when you’re switching ammo to avoid confusion and coordinate your firepower. Practice this process regularly in training so it becomes second nature.
Stay calm and deliberate, paying attention to your surroundings and gear. Combining tactical awareness, good equipment management, adaptability, and communication ensures you’re ready to switch ammo quickly and confidently, even under intense pressure.
How Different Ammo Types Affect Your Shooting Performance
Different ammo types can really change how you shoot. They can impact things like damage and how well the rounds penetrate targets, so some types are better suited for certain situations. For example, you might want a different ammo if you’re going after armor versus open targets.
You’ll also feel differences in recoil and how the gun handles when you switch ammo. These factors can affect your accuracy and how quickly you can respond to threats. Getting a good sense of these differences helps you pick the right ammo for whatever you’re up against.
Impact on Damage and Penetration
Choosing the right ammo type can really boost your combat effectiveness, especially when it comes to damage and penetration. Different ammo types have unique damage levels and how deep they can penetrate, which impacts how well they handle various enemies and situations.
Think about how well your ammo can penetrate cover or armor, especially against tough foes. This is key for taking down heavily protected enemies efficiently.
Using specialized rounds for specific threats can give you tactical advantages. They can be tailored to counter particular enemies or scenarios, making your approach more effective.
Also, consider how your ammo performs at different ranges. Some types work better at longer distances, so picking the right one can improve your accuracy and impact.
Finally, having a flexible loadout lets you adapt to different combat situations. It helps you maximize your effectiveness and exploit enemy weaknesses across a variety of missions.
Effects on Recoil and Handling
The type of ammo you choose doesn’t just affect damage and penetration; it also impacts how your weapon handles when you shoot. Different ammo types change recoil patterns, making your weapon feel either more or less controllable.
Heavier rounds usually produce more recoil, which can make handling trickier. You might need to adjust your grip or firing rhythm to stay accurate. On the other hand, lighter rounds tend to have less recoil, helping you get quicker follow-up shots and better accuracy.
Shotgun shells or specialty rounds can cause unpredictable handling, which might make it harder to stay on target. Knowing these effects lets you anticipate how your weapon will behave and adapt your shooting style accordingly.
Choosing the right ammo for your situation ensures you have better control and more consistent performance, especially during critical moments.
Common Mistakes to Avoid When Changing Ammo on the Fly
Switching ammo types quickly can give you a tactical edge, but it also comes with pitfalls if you’re not careful. One common mistake is neglecting proper ammo selection strategies, which can lead to mismatched rounds that reduce effectiveness.
Another error is rushing the process without practicing tactical reload techniques, risking jams or misfires. Failing to verify your weapon’s compatibility with different ammo types can cause malfunctions.
Finally, ignoring your current loadout’s capacity might leave you vulnerable if you don’t plan your ammo swaps efficiently. To avoid these mistakes, stay calm, double-check your weapon’s requirements, and practice seamless shifts.
Remember, quick and accurate ammo changes depend on preparation and familiarity. Mastering these aspects guarantees you won’t compromise your weapon’s performance during critical moments.
Avoid these common pitfalls, and you’ll be better equipped to adapt swiftly without sacrificing safety or efficiency.
Customizing Your Ammo Loadouts for Tactical Scenarios
After mastering quick ammo changes, the next step is customizing your loadouts for specific tactical scenarios. Tailoring your gear helps you optimize your weaponry based on the threats you’ll face, whether that’s breaching, CQB, or stealth.
Think about the environment and enemy types you’ll encounter. Choose ammo types accordingly. For example, armor-piercing rounds work well against heavily armored foes, while hollow points are great for close-quarters combat.
Adjust your loadout based on the situation to maximize efficiency and safety. Using the right ammo proactively makes you more adaptable and effective in Ready or Not.
Here’s a quick reference for different tactical scenarios:
| Scenario | Recommended Ammo Type |
|---|---|
| Urban CQB | Hollow Point |
| Armored Enemies | Armor-Piercing |
| Stealth Operations | Subsonic or Low-Noise Ammo |
Be prepared with the right ammo for each situation. Customizing your loadout this way improves your chances of success and keeps you safer during missions.
Troubleshooting: What to Do If You Can’t Switch Ammo
If you find yourself unable to change ammo during a mission, start by checking your weapon’s current status and reload options. Sometimes, a weapon might be jammed or empty, which stops you from switching ammo. To troubleshoot, consider these tips:
- Verify your weapon isn’t empty or jammed before trying to switch ammo.
- Make sure you’re using the right ammo switching techniques; some weapons need specific commands or key presses.
- Check if your weapon is in a disabled state due to recent reloads or animations—wait for them to finish.
- Confirm that your loadout includes the ammo type you want to switch to and that it’s available in your inventory.
These tips help you identify common issues that block ammo switching. Mastering these techniques ensures you’re ready for any scenario and helps minimize delays during critical moments.
Practice Drills to Master Ammo Switching in Ready or Not
To get good at switching ammo quickly and smoothly, you should add specific practice drills to your training routine. Focus on drills that mimic real tactical situations, highlighting speed and accuracy.
Practice in different locations like indoor ranges or simulated combat zones to adapt to various environments. Include teamwork exercises to boost communication and coordination during ammo exchanges.
Use stress management techniques to stay calm under pressure, helping you perform better when it counts. Work on timing your reloads and ammo swaps to cut down on downtime.
Regularly adjust your loadout to practice quick gear changes, ensuring you’re familiar with all your setups. This way, you’ll be ready for anything on the field.
Frequently Asked Questions
Can I Carry Multiple Ammo Types Simultaneously in Ready or Not?
You can’t carry multiple ammo types at the same time in Ready or Not, so you’ll need to manage your ammo carefully.
Having the right rounds for different situations gives you a tactical edge during missions. To stay efficient, switch ammo types based on what you’re facing and your current objectives.
This way, you can adapt quickly, conserve resources, and stay prepared for whatever comes your way.
Does Switching Ammo Affect Weapon Accuracy or Recoil?
Switching ammo types in Ready or Not can impact your weapon’s accuracy and recoil, but the effects are usually minimal if you pick the right ammo for your situation.
Ammo performance varies depending on the type you choose, which can influence how your weapon handles during fire.
Proper weapon customization lets you optimize performance, so don’t hesitate to experiment with different ammo options.
Find what works best for your playstyle without worrying too much about significantly hurting accuracy or increasing recoil.
Are There Any Penalties for Switching Ammo During a Mission?
Switching ammo during a mission doesn’t come with penalties in Ready or Not, but it’s a strategic move. Think of it as balancing ammo management strategies against your mission loadout optimization—sometimes you need to adapt quickly.
While switching might slightly affect your weapon’s handling, it’s a small trade-off for better performance against specific targets. Use this tactic wisely to stay flexible and maximize your effectiveness in high-stakes situations.
How Does Ammo Switching Impact Stealth and Noise Levels?
Switching ammo types impacts your stealth tactics and how you manage noise. Using silencers or subsonic rounds keeps things quiet, helping you stay hidden. But changing to louder ammo can increase the chance of being detected.
Be strategic with your ammo choices, especially during stealth missions. Picking the right type helps you avoid unnecessary noise and keeps you in cover. Quick and careful switches are key to staying unnoticed.
Executing silent takedowns depends on how well you manage your ammo swaps. Take your time, plan ahead, and switch ammo carefully to maintain the element of surprise.
Is There a Limit to How Often I Can Switch Ammo Types?
Think of switching ammo types like juggling torches; you can do it as often as you like, but doing it too quickly might cause a mishap.
In Ready or Not, there’s no strict limit on how often you switch ammo types, but ammo availability and tactical considerations matter.
Constant switching can drain resources and reveal your position, so choose wisely to stay stealthy and efficient in your mission.
Conclusion
Mastering ammo switching in Ready or Not can boost your mission success rate by up to 30%. With quick access and proper timing, you’ll respond more effectively to threats.
Remember, practicing these techniques helps you adapt seamlessly under pressure. Stay calm, choose the right ammo for each scenario, and keep honing your skills.
The more you practice ammo switching, the more instinctive your reactions become. This makes you a more tactical and confident operator.